New Nut
NEWS – I am now offering electric guitar lessons https://guitarsetup.co.uk/guitar-lessons/
If your guitar (or bass) has developed a buzz that is noticeable on open strings then the problem is almost certainly down to the nut. It is also possible for new guitars to be supplied with poorly cut nuts that have incorrectly set string spacing. The typical procedure for nut replacement is described below.
First the existing nut is assessed. Is it cut to low, incorrectly spaced or simply badly fitted? If the answer to any of these questions is yes then the nut needs to be replaced. Removing the nut can be quite tricky and takes a great deal of care. Many guitars are lacquered after the nut is fitted and the lacquer needs to be carefully cut before removing the nut. In some cases the nut must be sawn in half lengthwise in order to make removal possible.
Once removed, the nut slot and surrounding area are cleaned up and made good. A suitable nut blank, such as a pre-shaped fender cyclovac or a rectangular oversize blank, is selected and glued in to place. Once the nut is secure, the edges and top are finished. This can take some time, the desired result is to be unable to detect that a new nut has been fitted.
The nut slots can now be measured and marked out and a very shallow cut made. At this point, the cut should be just deep enough to hold the string in place for the next stage. Once the shallow cuts have been made the guitar is restrung and brought in to tune. The neck is set as straight as possible and the slot cutting can begin.
Each string in turn is slackened and moved aside to allow it’s slot to slowly filed deeper. During the process, the string is repeatedly placed back in the slot and brought back to tension. This process is repeated for all strings until the nut slots have all been cut to the correct depth.

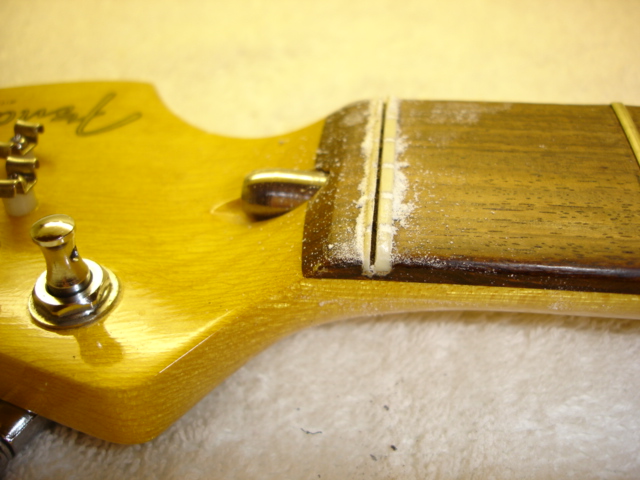
Nut removed 
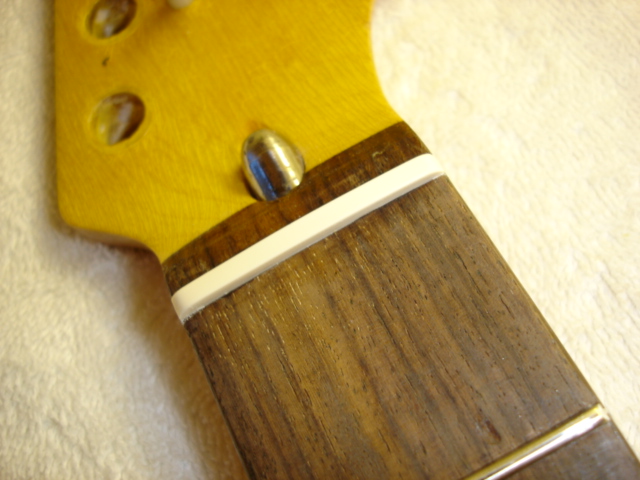
Nut blank 
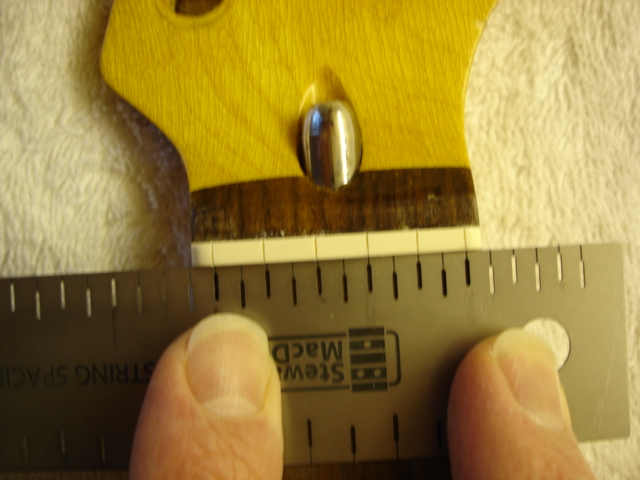
Nut measuring